Monday, November 29, 2010

Another Apron Craze

About a month ago I went on another apron craze.  I sewed this for my daughter.  She didn't have an apron, and always fought over her brother's with him.

Then I made this one, which is unisex (I think) for a child.

And come on, how could I not resist making another polka dot, cupcake apron. 
 I love these two materials, I guess there is actually three, oh wait four.

Friday, November 19, 2010

Back by Popular Demand

Yes, one request of pictures a baby blanket is popular demand. Here it is, a little more colorful than the previous one I made for this mom, but not as loud as the first one I made her. (That was before I photographed my art work, it was purple with cartoon ballerinas everywhere.)  Since I made it before the baby was born, my sister in law was not able to change the name after she was born. Sorry for the inconvenience.
This picture is awful, and makes the materials clash, but I wanted the entire blanket in one picture.

Here is the question, obviously I have the blog so I can show off my crafts no matter how good or bad they may be. I think I'm a fairly good hand embroidery, but I'm always nervous about posting it because I don't want people to be annoyed that I posted their child's name on the internet, even though I never post a picture of said child to go with the name.

Thursday, November 18, 2010

My gratitude Calendar

All the cool kids are making a list of everything they are thankful for this month, so I wanted to jump on the wagon. Here is mine, a calendar, each box is a different day.
Although the squares don't say who said it, the list is a mix of everyone's thoughts. I assume the responses don't need names.  Clearly we know who is thankful for toy bunnies, who loves baby dolls, and who likes conversations with other grown-ups.

Friday, November 12, 2010

Birthday Baking/ Birthday Apron

I found this cute material, and wanted to make an apron for birthdays.  My daughter turns 2 in a month, and it be so great to wear my fun new apron.


Thursday, November 11, 2010

Dragon Hide Dolly Blanket

When my son was a baby, his Aunt Teresa made him a green silky blanket with the soft raised polka dots on the other side.  I have no idea what that material is called, and my husband told my son years ago that it was from a dragon, it is call the dragon hide blanket.  My daughter loves silky soft things, so she always wants the blanket, and yet my son refuses.  We had a brown scrap from my mom, and then we had a pink scrap of some sort of silky stuff, and tah tad, we have another dragon hide blanket, a little more girly this time. (Three pieces pieced together.)  After watching How to Train a Dragon we know that dragons are more colors than just green.  
This blanket is only big enough for a doll.
She is a very conscientious mother.

Little Cupcake Apron

I love cupcakes, I love material, I especially love material with cupcakes on it, and since I'm also enjoy sewing aprons, I made my daughter an apron. We only have one child apron, and the kids fight over it now when we bake, so I whipped up another one.

Wednesday, November 10, 2010

My Monogram Wreath

I found this tutorial, and really love the Monogram, I love all monograms. I finally got around to buying my supplies.  It was cheaper than I expected, the H was the same price as the wreath, only $3 and something. The great thing is I can change it for the seasons, by pulling off the flowers and gluing different seasonal embellishments. This might be a reoccurring post. I love the wreath.

Monday, November 1, 2010

Not my creation

Remember Nannie Doll? Well my mom made one for my niece with dark hair. Isn't it darling? I want one, (not really). I didn't make this doll, but I did draw her face. I thought the dark hair version was so cute I had to post it.


Wednesday, October 27, 2010

The Last of the Halloween

I think this is the end of my Halloween crafts.  As mentioned my daughter is little red riding hood for Halloween, and so I'm dressing up as grandma.  I needed an old fashion sleeping bonnet, so of course I googled it.  I found the directions on how to dress up like Mrs. Claus.
You start out with a 18 inch circle, and then I changed the directions, I folded the edge of the material over two inches, so it gave me a inch wide hem.
Then I sewed bias tape on top of the hem in a circle so I could thread skinny elastic around inside.  My hat was not such perfect circle, but my bias tape was a beautiful circle, so I had to photograph.
I thought 18 inches in diameter would be too much material, but it actually turned out a tad small, but it will work for a few hours.  My daughter loves the sleeping bonnet, it could become a favorite toy after Halloween.  It fits much better on her head then mine.

Everything Ghost

Its everything ghost in our house this October.  The year of the ghost.  So when were asked to bring 15 small things to share with all of J's classmates for Halloween, I remembered kleenex ghosts. Sure its hardly an original craft, but he is young so its new to him.  He had fun making them for his friends.

He drew spooky faces all of them. He also drew blood all over his kleenex ghost but not his friends, because it is so spooky and he didn't want to scare them.  His dad and I thought that was very respectful of him. 
In our small bag of of tootsie roll halloween candy we only had 10 lollipops, so we just tied kleenex to the large tootsie rolls, it worked fine.
He also drew fifteen pictures of spiderwebs and other spooky things to give to his classmates, drawing the pictures was his idea.

Tuesday, October 26, 2010

Halloween Cookies

Halloween Cookies with grammy. Hmm, this sounds famillar. Oh yeah, I make the dough by myself, and a day or two later, grammy takes care of the rest with the kids. We have more pictures of J and Grammy making sugar cookies than anything else.

Of course we had ghosts!  He is looking so big these days, and so dang cute!
Nan just scooped the frosting off the cookies with her knife and ate it.

Monday, October 25, 2010

Halloween Preview 2010

After I posted on Friday, I convinced my daughter to put on the cape, by feeding her mini M&Ms constantly. Here is my ghost and red riding hood.


Friday, October 22, 2010

Red Riding Hood Finished

My mom and I finished the cape. Here were the directions we used.  It is not the most adorable thing you have ever seen? The dress was a handme down from a lady in my apartment complex who I've only talk to twice and don't even know her name. Is that not most perfect dress?
Here is her treat bag. I sweet basket that should hold grandma's muffins.

Unfortunately like I mentioned she is scared of the cape.  I have printed off countless pictures of red riding hood and hung them at her eye level telling her this is a picture of Nan Baby. The best pictures my far to print were from The Project Gutenberg Story Time. I also hung the costume in her room for her to see, asking if she wants to wear it.  When she tells me no, I say ok, you don't have to but when you wear it you get a treat.

Did I mention I'm dressing up as grandma, and my husband the wolf.
Teen wolf that is.... when I told him he was dressing up as a wolf, he said teen wolf?  I said sure, until I saw the pictures, now I don't know.  I was picturing a wolf dressed in 80s clothes, not a planet of the ape in a 80s jean jacket.

My Gnome

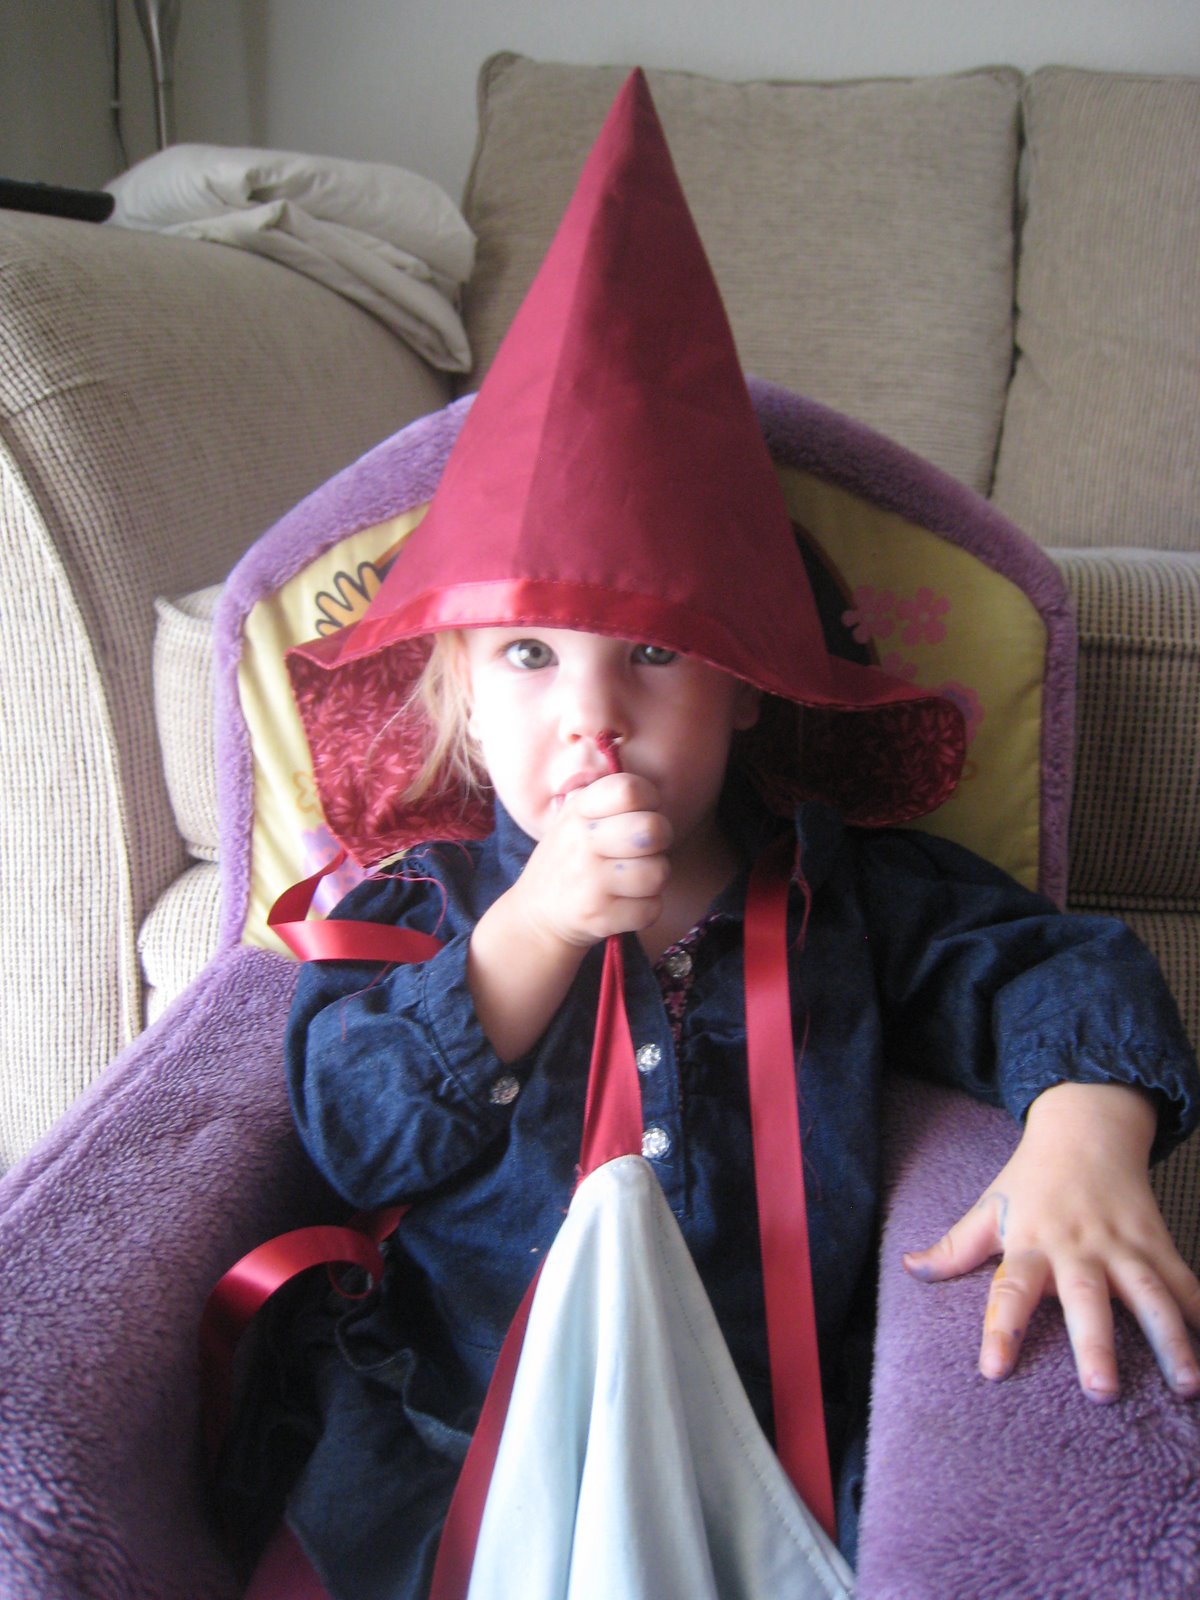
We made the hood of red riding hood first. It was adorable on my daughter. She looked like a gnome, if I have another boy one day, he is so being a gnome for halloween the first year he can walk. She loved the hood, unfortunately she doesn't like the cape.
Sometimes I wonder if we were crazy making the cape, and should have just gone with a gnome for Nan?  Normally I'm not one for baby photography, but seriously baby girl gnomes are dang cute. Its official no matter what gender I have next, the baby will be a gnome.
Look how happy she is as a gnome, she just needs pants in a different color.
We used Martha Stewart's instructions to make the hood. Can I put this here? Hopefully, so I can get it printed for my copies, so I can make them one day again.
Cape How-ToThis cape should fall just below the hip. You will need red pinwale corduroy, red cotton broadcloth for lining, and 1 yard red double-fold bias tape. Make the cape according to the basic directions.
1. Make the hood: Cut a rectangle 25 inches long and at least 11 inches wide from both corduroy and lining remnants. Fold each in half crosswise as shown, and stack. Mark a point 10 inches from the left along the fold, and one 6 inches from the left along the bottom; draw a line from the top point to the bottom one. Pin layers together, and cut along the line (discard the remnant to the right).

2. Unfold and stack so that right sides are facing; pin in place. Stitch together along the long straight edge. Turn inside out so that wrong sides are facing and seam is concealed.

3. Fold in half end to end with the lining facing out; stitch along the angled edge as shown.

4. Turn hood corduroy side out and open. Align the bottom edge of the hood with the neckline of the cape as shown, corduroy sides facing; pin, and baste in place. Center the strip of double-fold bias tape on the neck, and fold it over raw edges; pin, and sew it in place.


Read more at Marthastewart.com: Little Red Riding Hood and the Wolf Costumes - Martha Stewart Crafts 

Thursday, October 21, 2010

Alterations to the Ghost

One day my son came home from preschool and told me that they are going to have a Halloween party at school? Oh really? that's great. Yeah, and I'm going to wear my ghost costume, but first we have to draw blood on it so you can tell how I died. Oh? Have you been discussing this with one of your friends? No. Did you talk about your costume or anyone else's costume today at school? No. Ok, apparently this is totally his own idea. He pulled the marker out before our last photo session ended. I spent three dollars on that sheet, and its his costume so I let him do what he wanted, but I did help him make the drip shape when he was marking.
Gorey huh?
The picture is not the best, but he had lost interest in pictures.